Rear Fog Light Install
 Okiewagon1
Wagonist
Okiewagon1
Wagonist
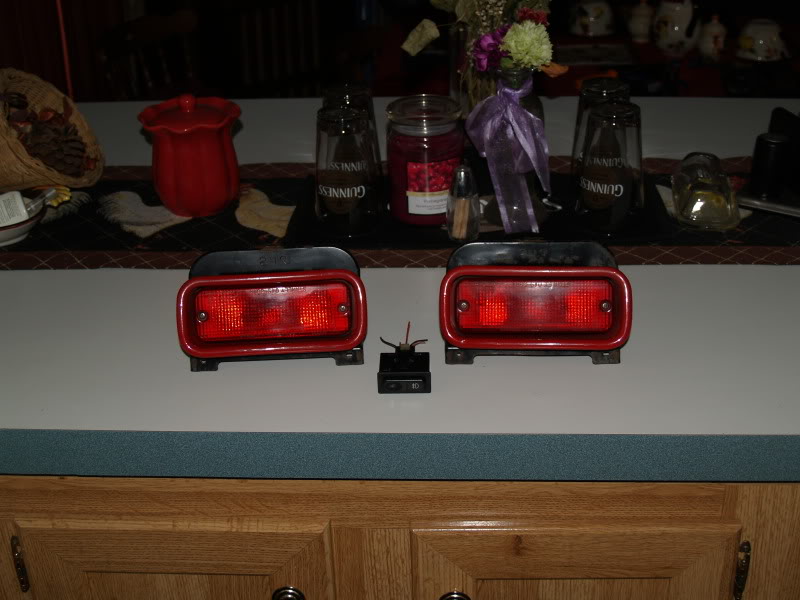
Just got these from overseas
Start by removing rear bumper. Stop right now if you can not even remove your bumper without direction.
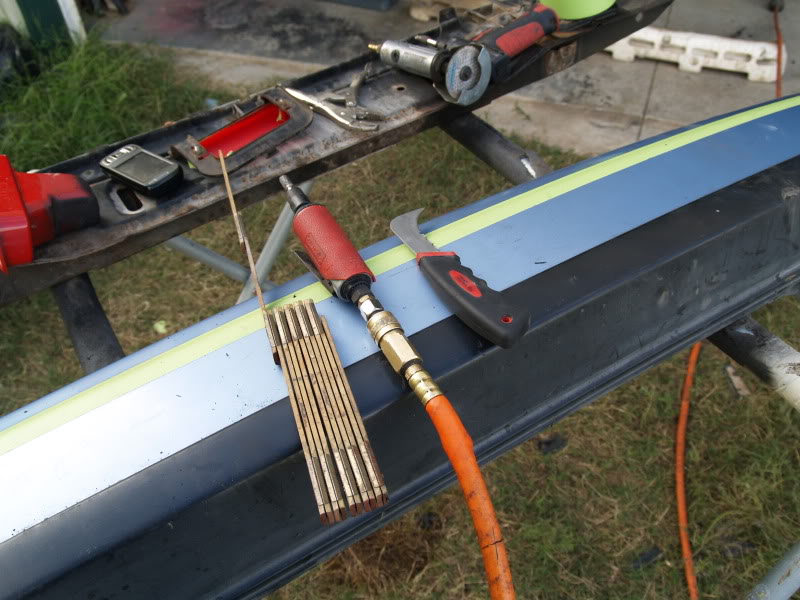
Some of the tools used during the process.
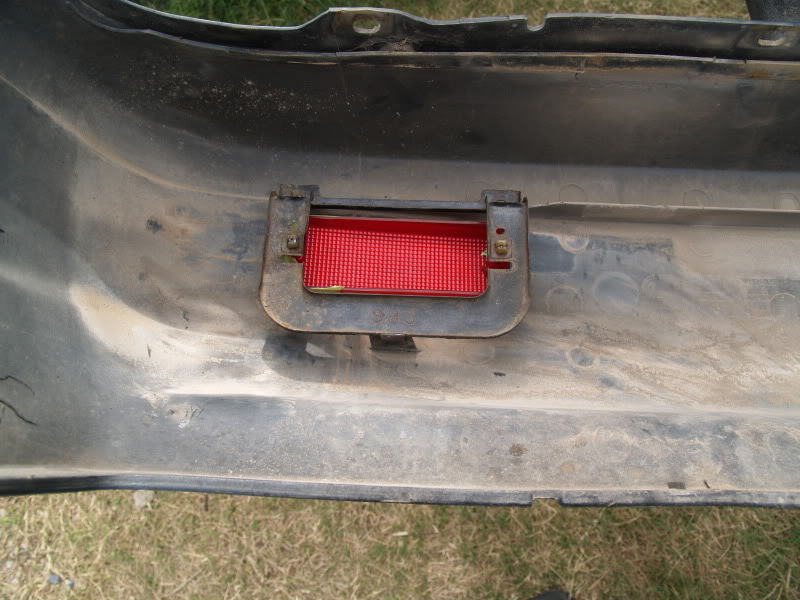
With bumper removed flip over and look a inside. My fog lights came with mounting brackets that were still in working order so I will be using these. However this is not always the case.
Inside the bumper there are preformed spots for the brackets. So all that you will need to do is just cut out the form for the light bucket. You can do this many many ways but I have always found that it is easier to cut small then go larger then to try and cut it all at once.
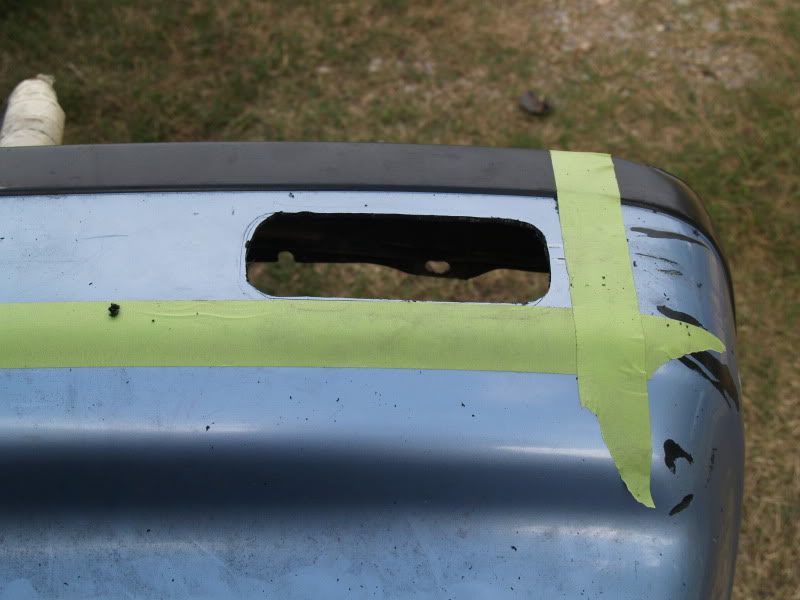
I started with mounting just the lens cover to get an idea of where I would need to cut.
Score where to cut. Here I am outlining the lens with a tile knife.
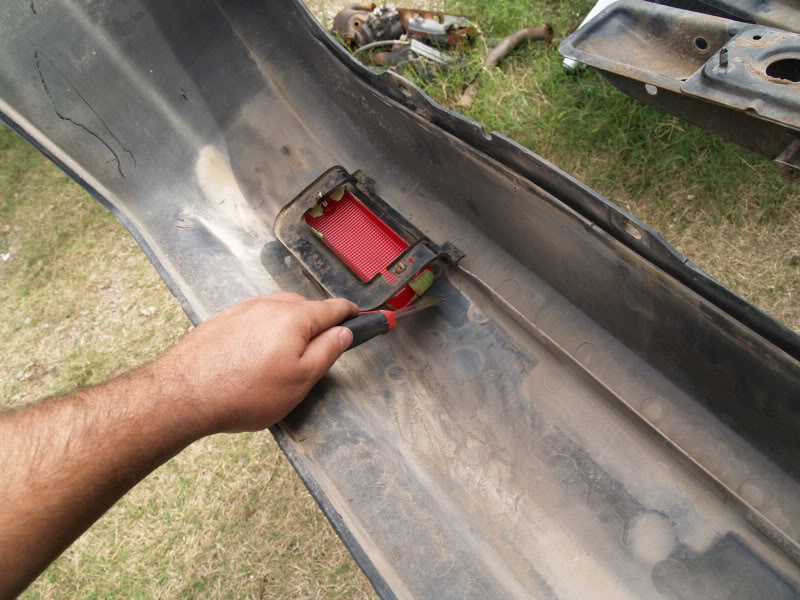
Very rough cut.
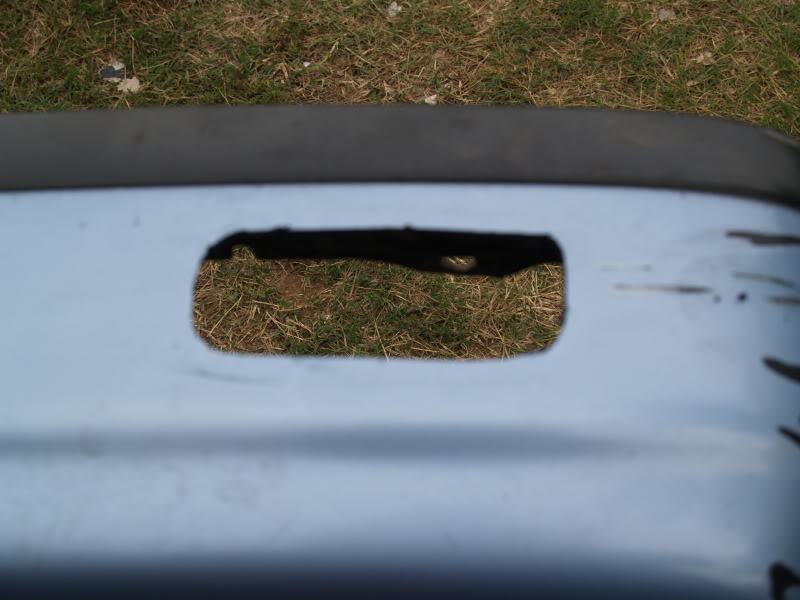
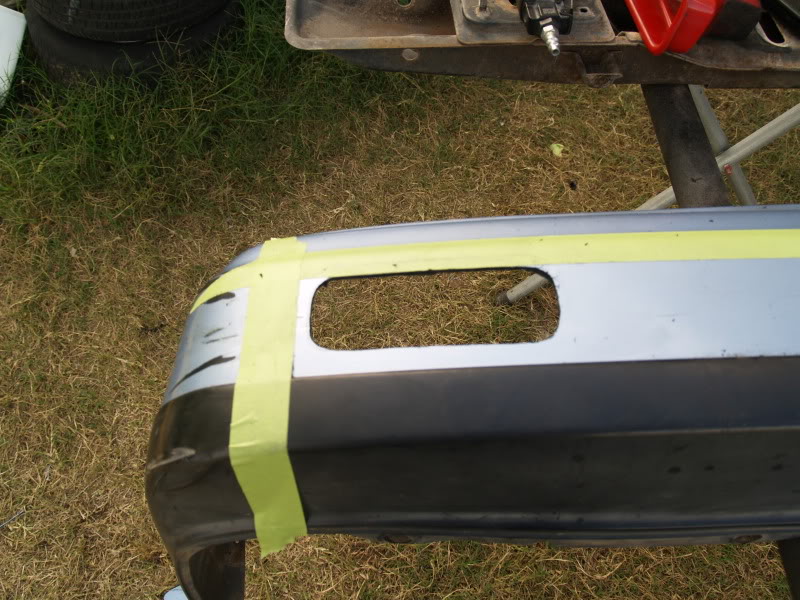
Just keep cutting until you get the buckets to fit flush. Just take your time and make small adjustments.
Here is the finished product. Ignore the red buckets those are going to be painted to match the car when we paint it in OCT.
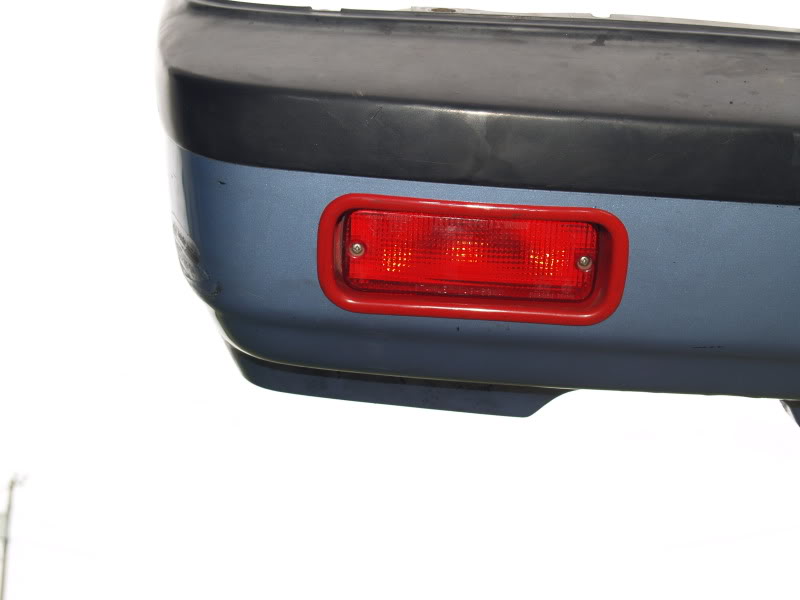
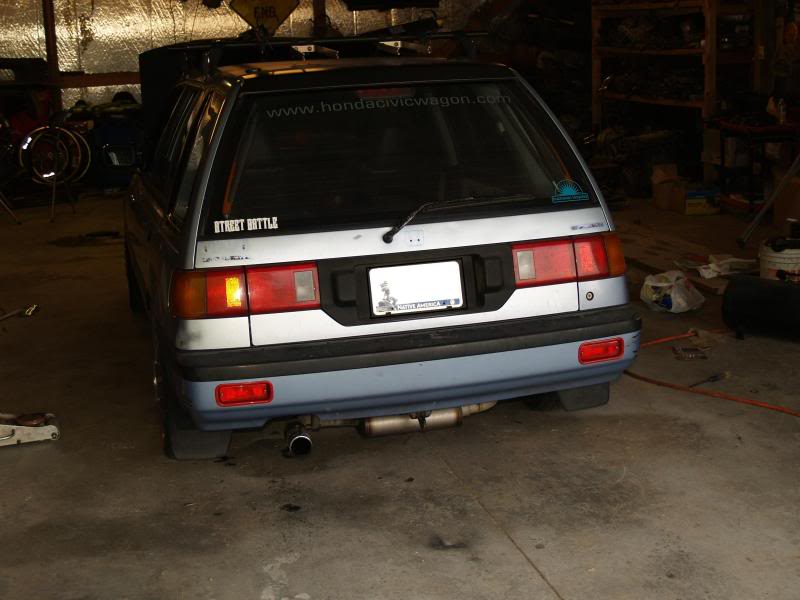
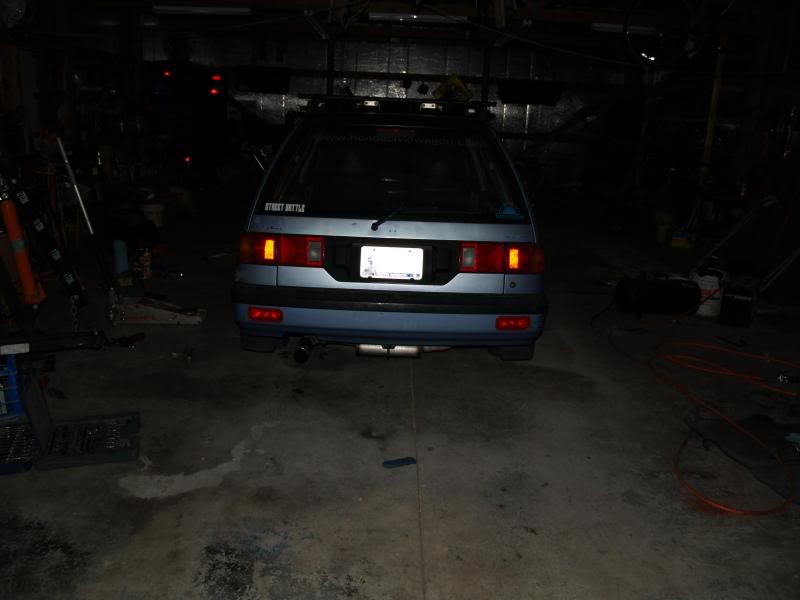
It seems most people like to install just one light but I think that does not look right. I choose to install both on the wagon.
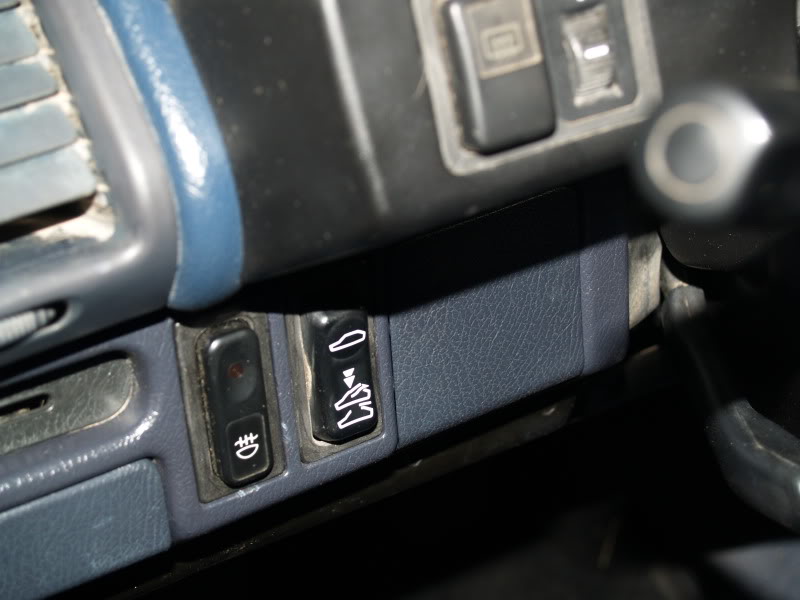
Here is the fog light switch.
Start by removing rear bumper. Stop right now if you can not even remove your bumper without direction.
Some of the tools used during the process.
With bumper removed flip over and look a inside. My fog lights came with mounting brackets that were still in working order so I will be using these. However this is not always the case.
Inside the bumper there are preformed spots for the brackets. So all that you will need to do is just cut out the form for the light bucket. You can do this many many ways but I have always found that it is easier to cut small then go larger then to try and cut it all at once.
I started with mounting just the lens cover to get an idea of where I would need to cut.
Score where to cut. Here I am outlining the lens with a tile knife.
Very rough cut.
Just keep cutting until you get the buckets to fit flush. Just take your time and make small adjustments.
Here is the finished product. Ignore the red buckets those are going to be painted to match the car when we paint it in OCT.
It seems most people like to install just one light but I think that does not look right. I choose to install both on the wagon.
Here is the fog light switch.
Comments