Restoring Your Headlights and/or Black Housings - Updated!
For those of you who have read my build thread, this will be a repeat of information. The purpose of this thread however is to provide insight into the restoration of your headlights. I am not finnished with my lights yet, but will update this as soon as I am. I am also adding in some other's experiences with this project. Feel free to add your experiences as well!
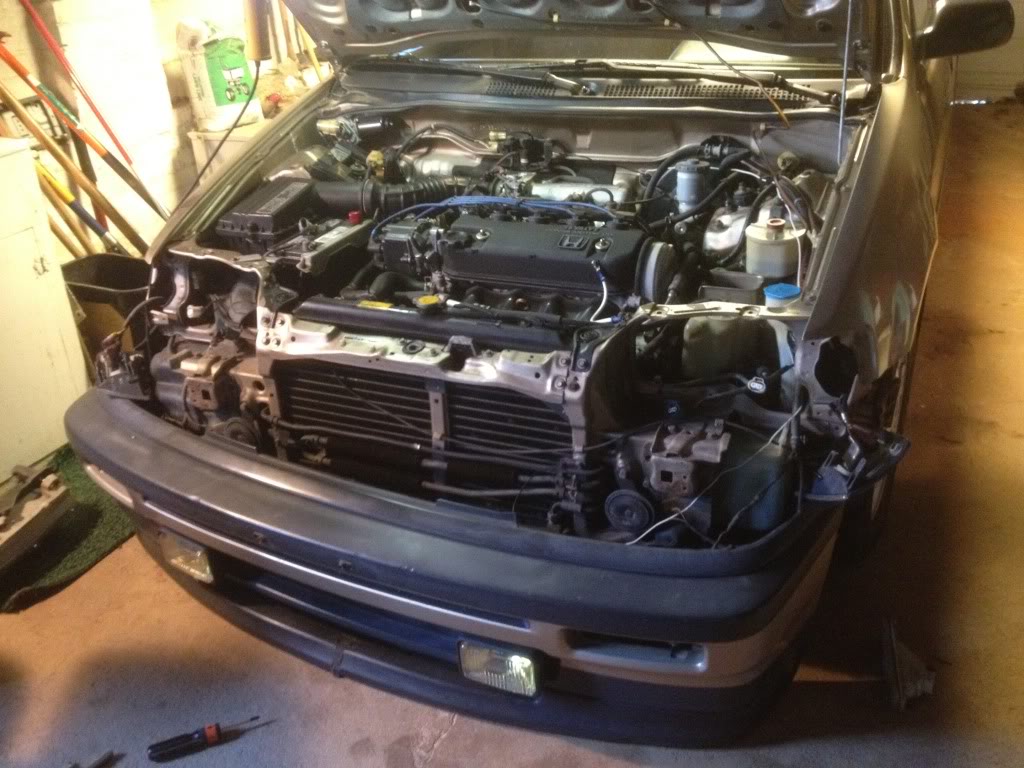
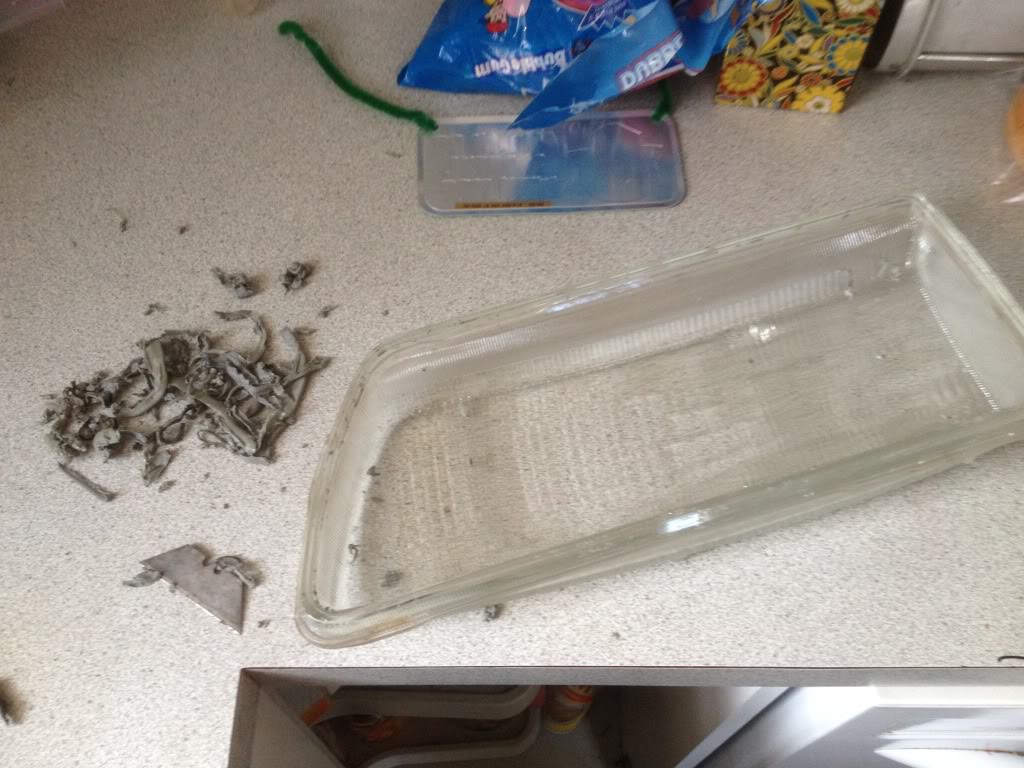
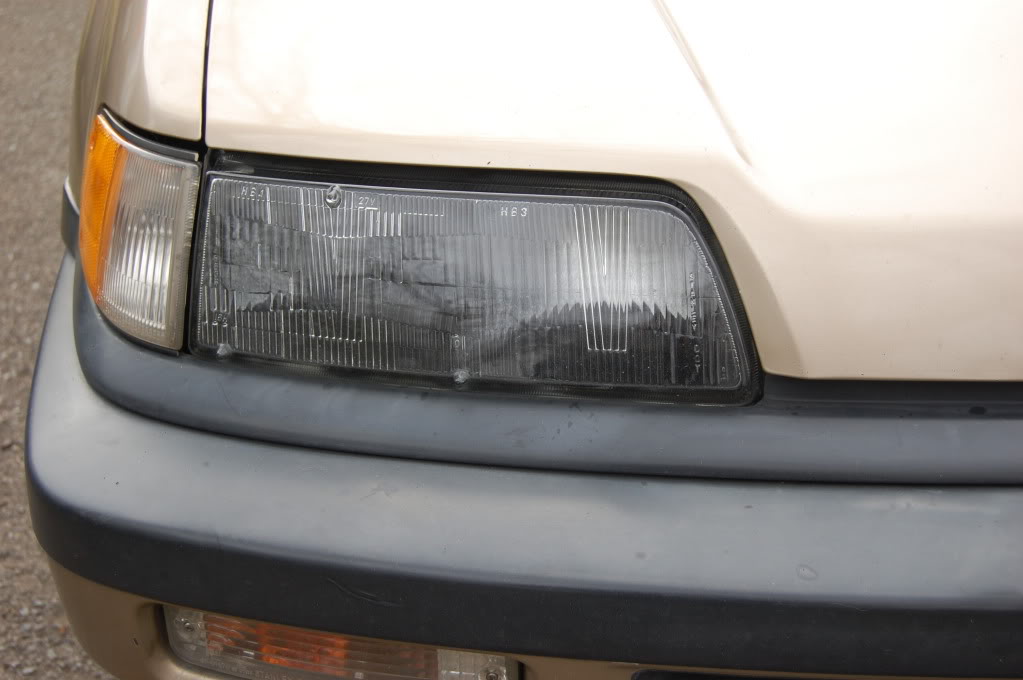
My headlights, probably like many of yours were constantly wet inside. This was unexceptable. It is caused by the sealent around the glass breaking down over time. So begins the process of restoring my headlights!
First step is obviously to remove them.
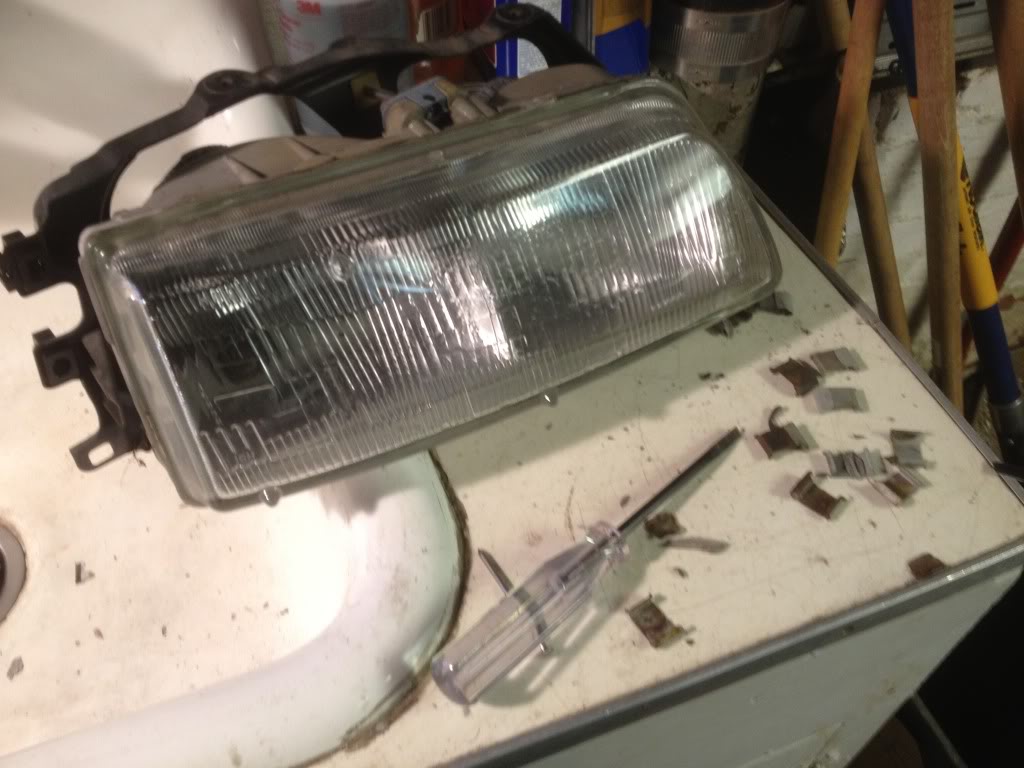
Next you are going to remove all the little metal clips that clip from the plastic to the glass. Hope you have better luck than I did!
The brittle plastic that they are attached too broke on all but one. So guess what-No more clips for my headlights. Hope my new glue is strong!
After that I brought them up to the kitchen and it was time to do the part I had read about but was most skeptical. Put them in the oven! I researched this alot. I read about everyone's different times and tempatures. No one was consistant so I decided to wing it!
I baked each light at 200 degrees for four minutes.
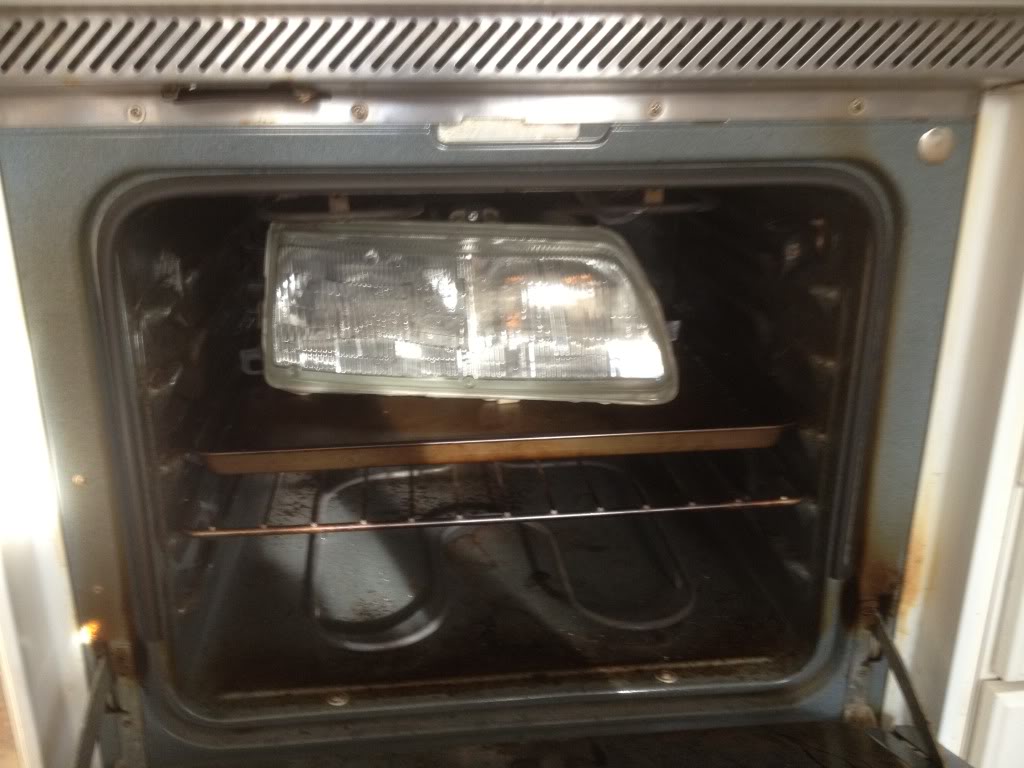
Guess what? It Worked! As soon as they each came out of the oven, I took a screwdriver to them and started prying them apart. Once I got a corner going, they pulled right apart. Words of caution... 1. They are hot! and 2. Use caution with the screwdriver. I chipped the glass in a couple of places, but no biggie. The new glue will cover it just fine.
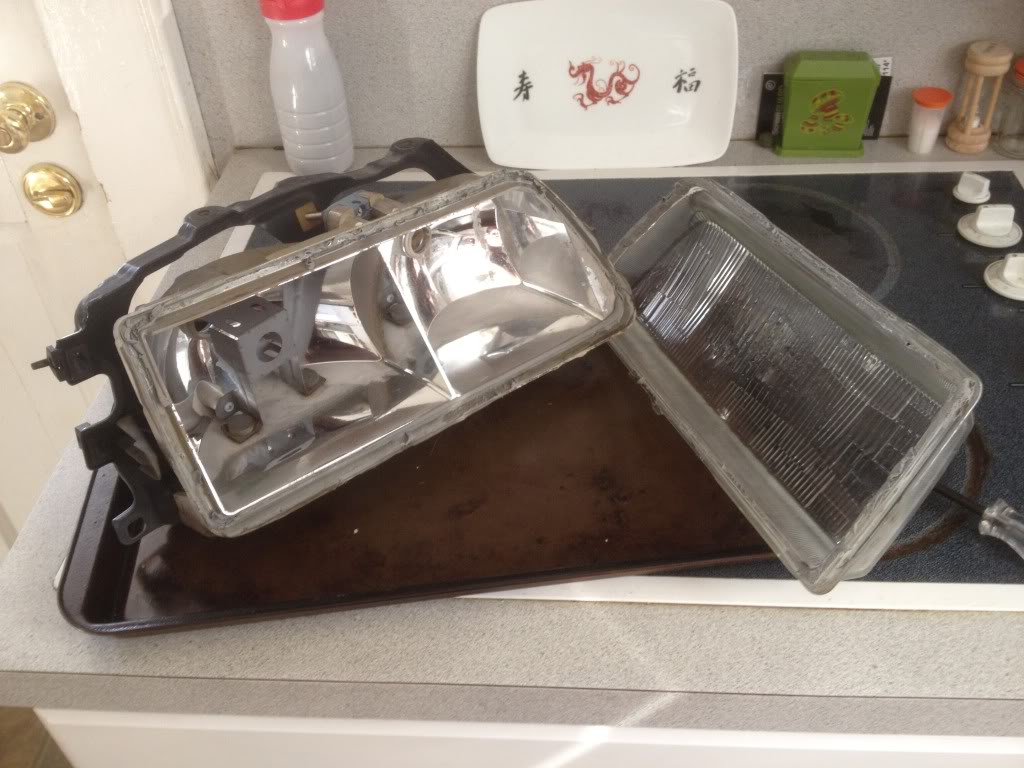
Then it was on to scraping the old glue off. Just used a razor blade. I got the two lenses done in like five minutes.
The housings looked like they will take a little more time.
I was correct! What a bitch - be fore-warned I spent about four days on and off scraping glue out of the channel. Probably about a five hour job! I used a razor blade, screwdriver, scraper, and bottle of M.E.K. Man we must love out wagons! I wanted all that old glue off to provide a clean sealing surface for the new adheasive. Now I needed to find a chrome-like material to refinish the inside of the headlights. I bought some metallic silver paint, the cap looked chrome, but it was a failure.
Here are the pics for your viewing pleasure.
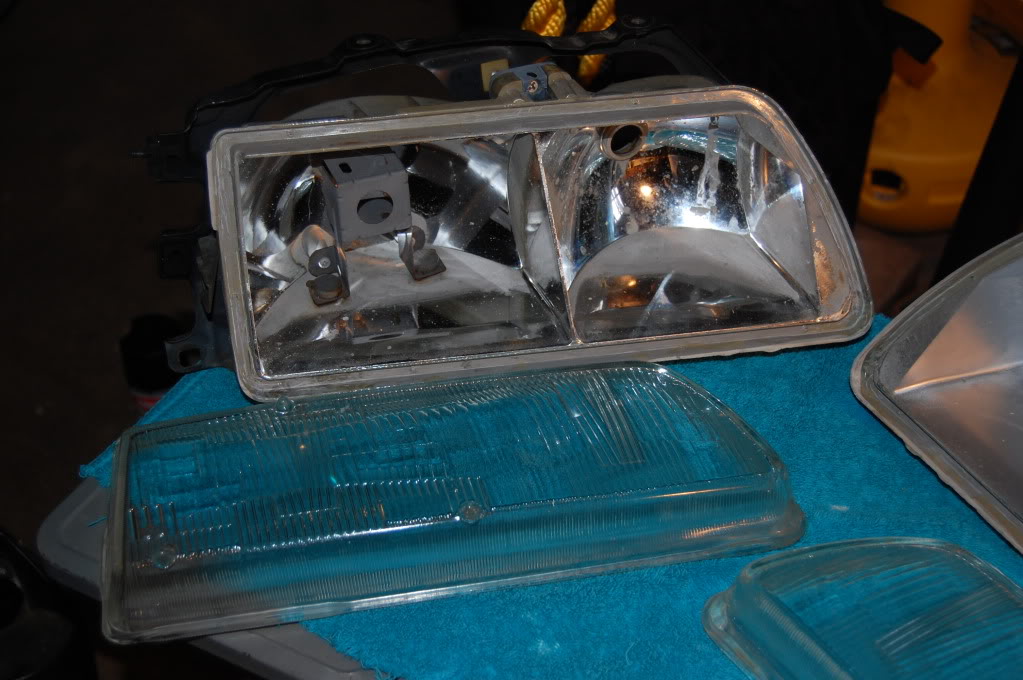
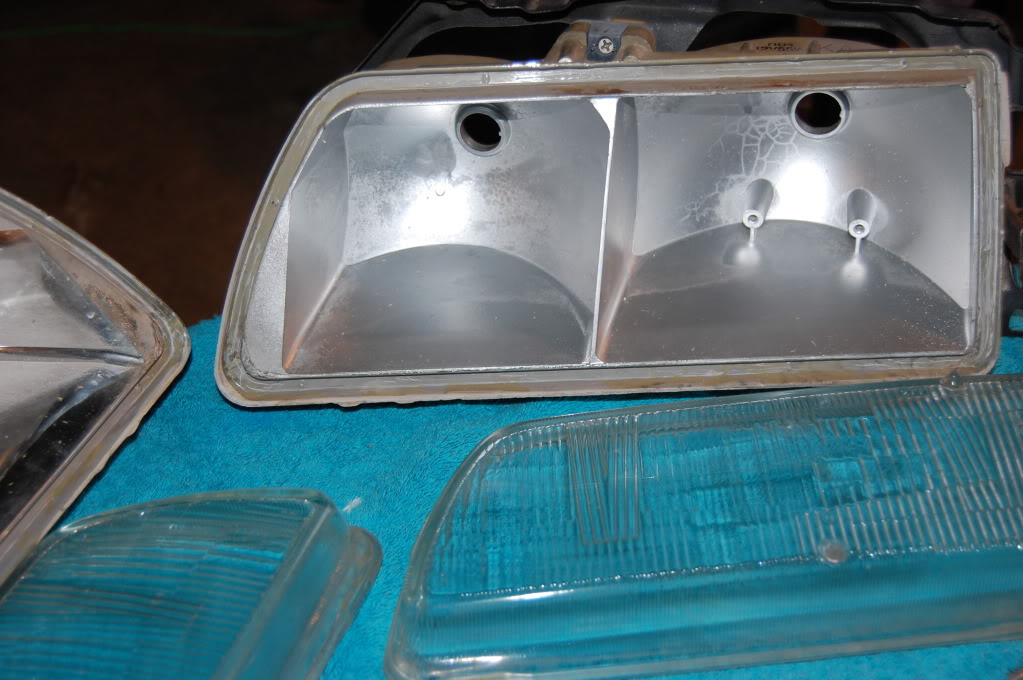
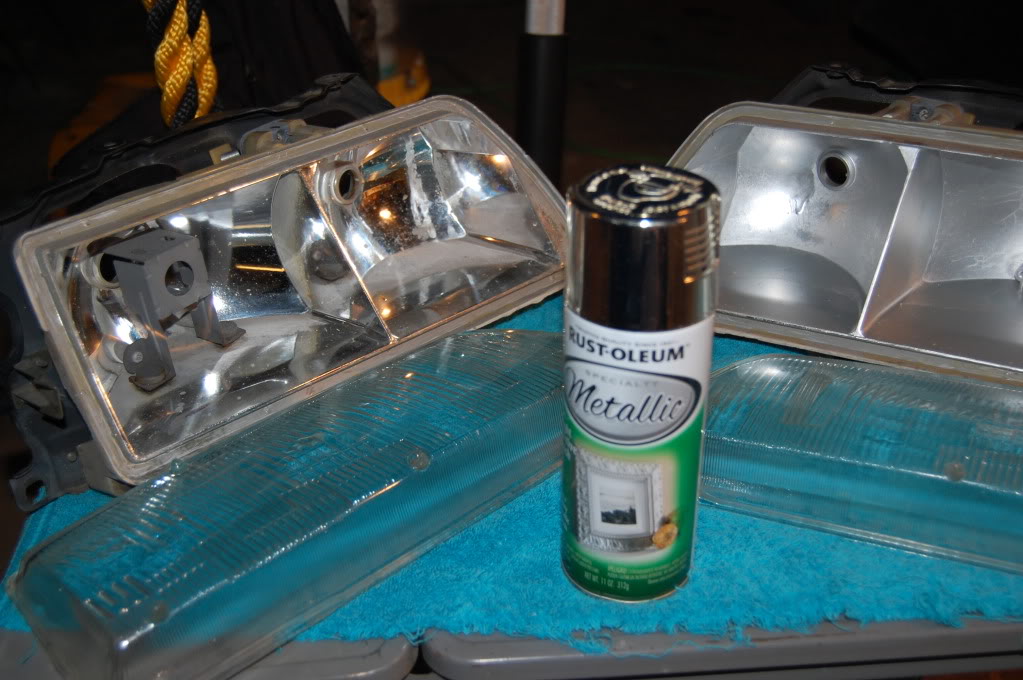
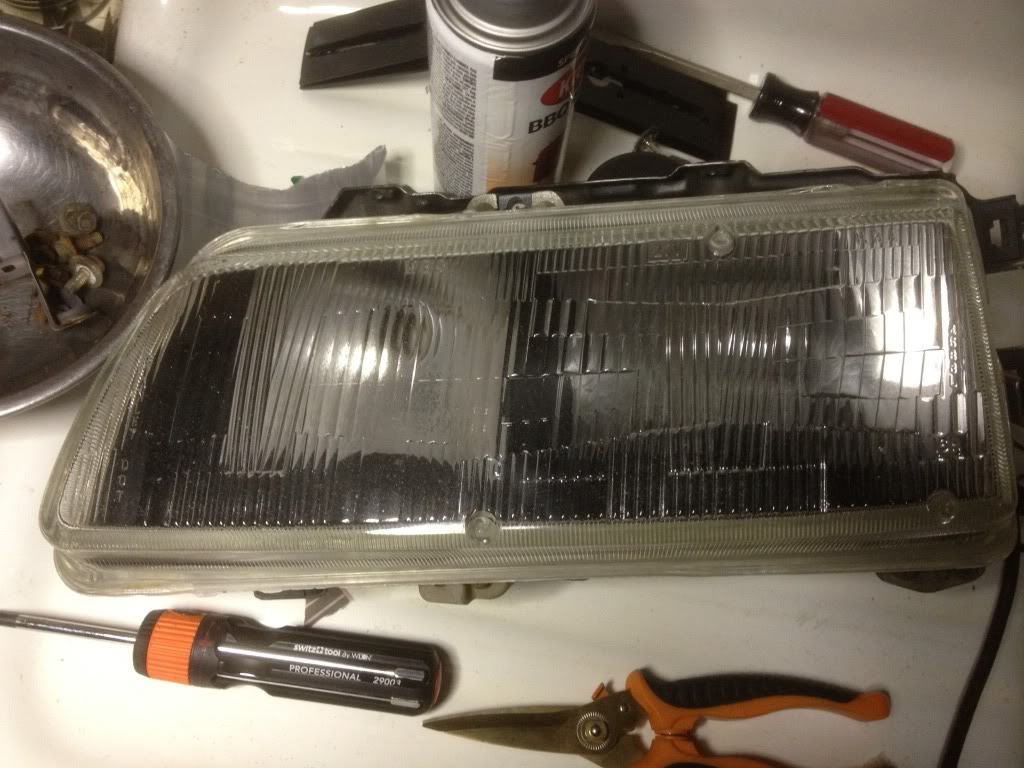
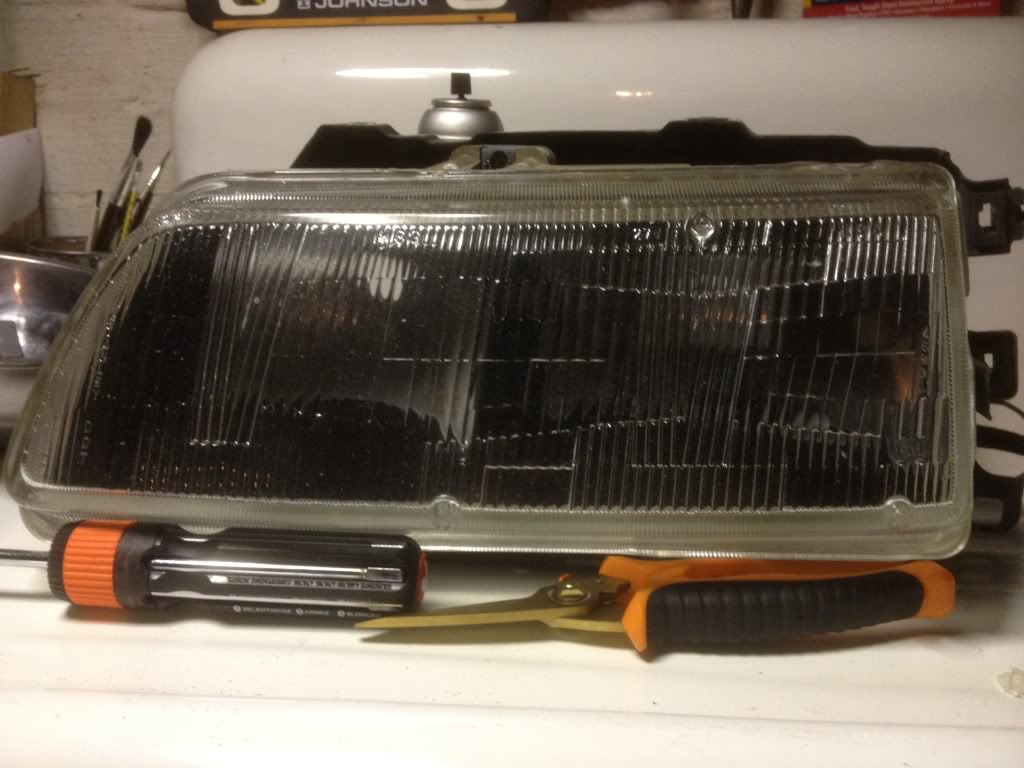
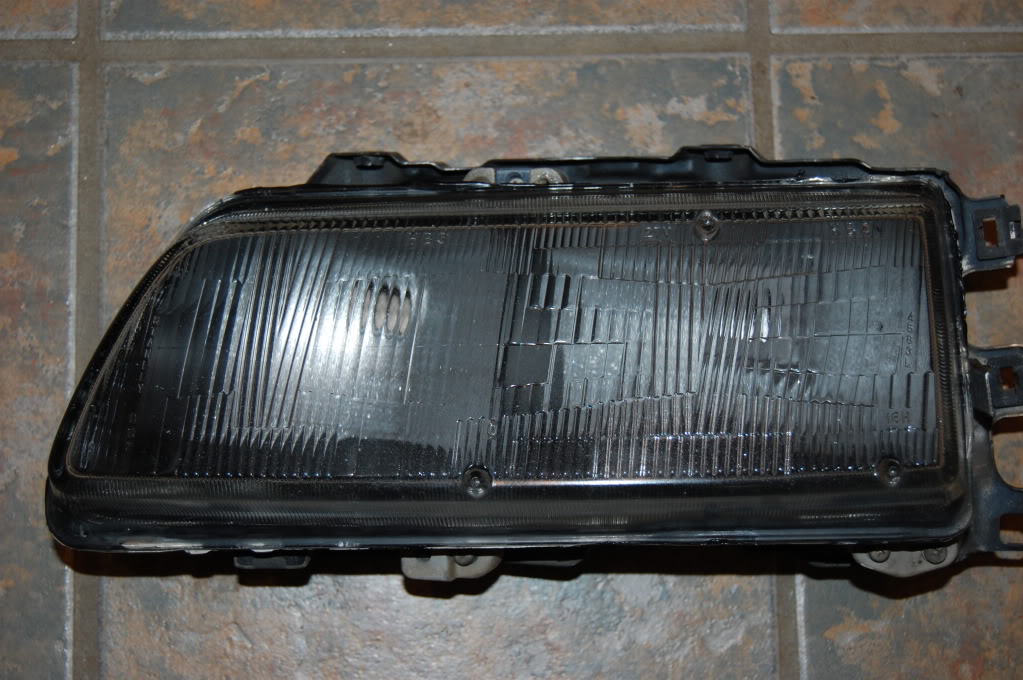
Here is the origional headlight finish...
This is the paint I bought, never mind the quality of the paintjob, this was a one-shot test run to see how it was going to do. Not happy :x
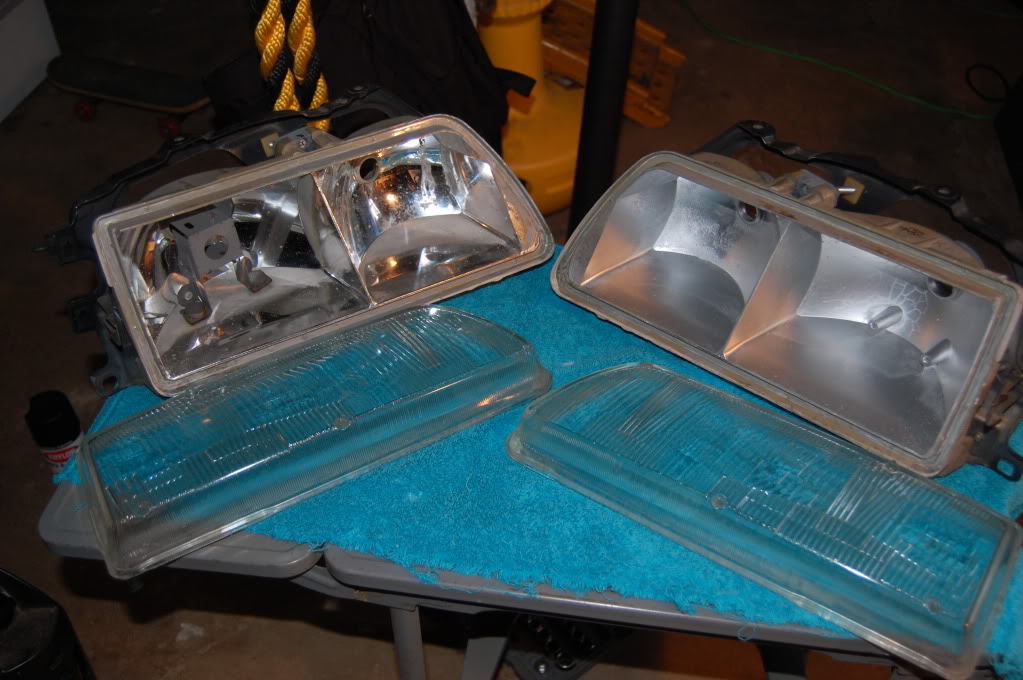
Here is a comparison shot, need more shiny!
Here is the paint I used, note the chrome like cap...False advertising!
Also tried this! Sorry, no pics of it, but none were needed.
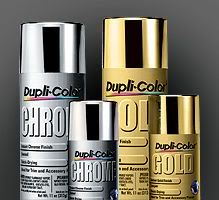
Same pitiful results!
I think I'm giving up on the chrome paint idea. Review other's results on youtube - search "chrome paint" and read other reviews but I still think they will yield less than steller reults. I think it is nearly inpossible to paint a mirror-like finish without high $ paint or professional equipment.
Well... Lets hold off on this for now and move on to making my headlights black housing lights, like the EDM ones. Mainly just because I have them apart and I think the black looks cool.
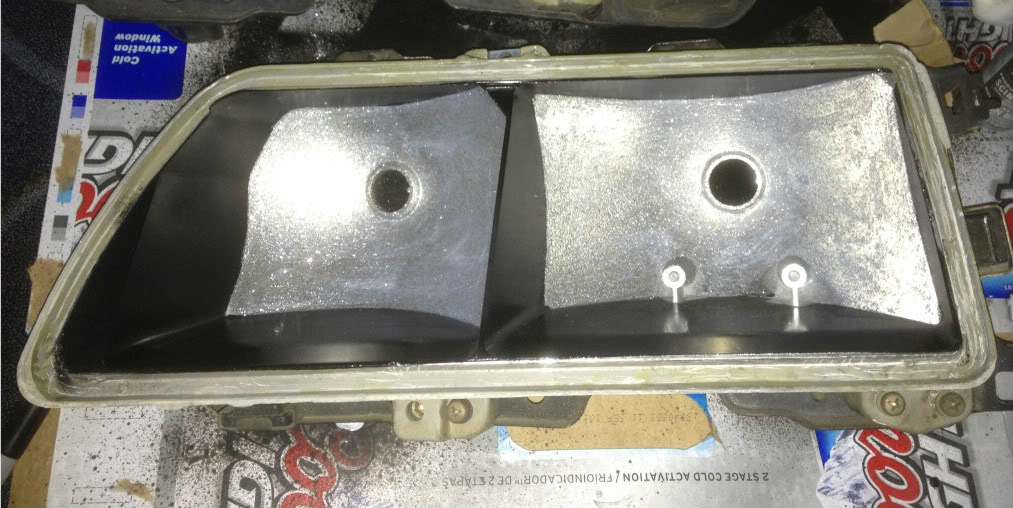
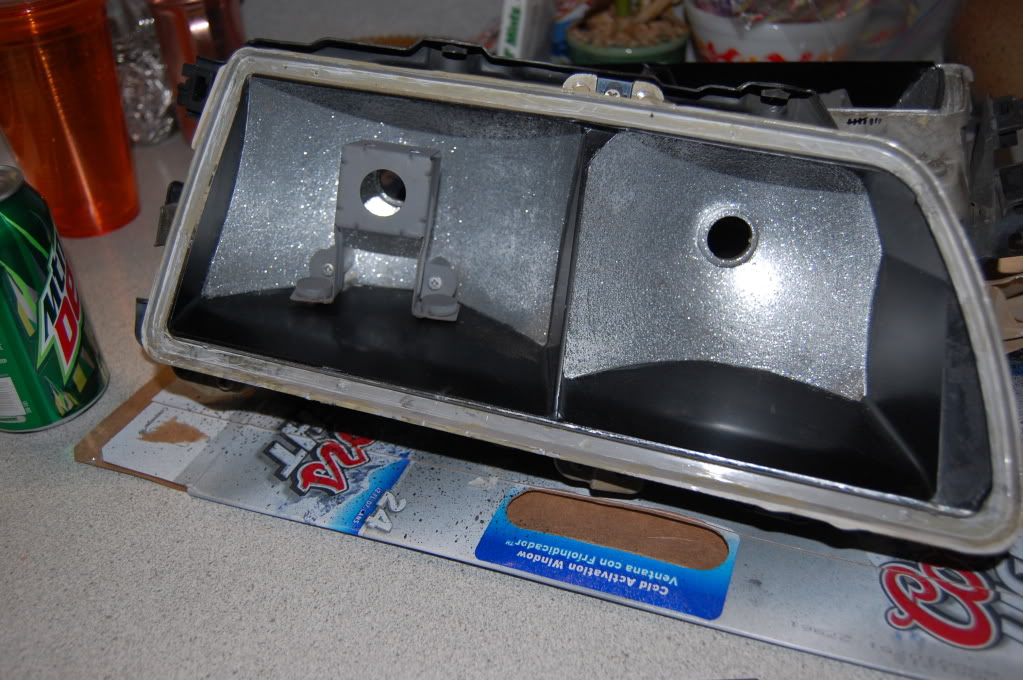
First I masked off the concave surface, going black on everything else.

Then gave it several coats of black. I used Krylon BBQ black. That is the black I use on almost everything. I like how it goes on and gives a nice flat to simigloss color. Plus it is high heat and holds up well. Not to mention - Cheap!
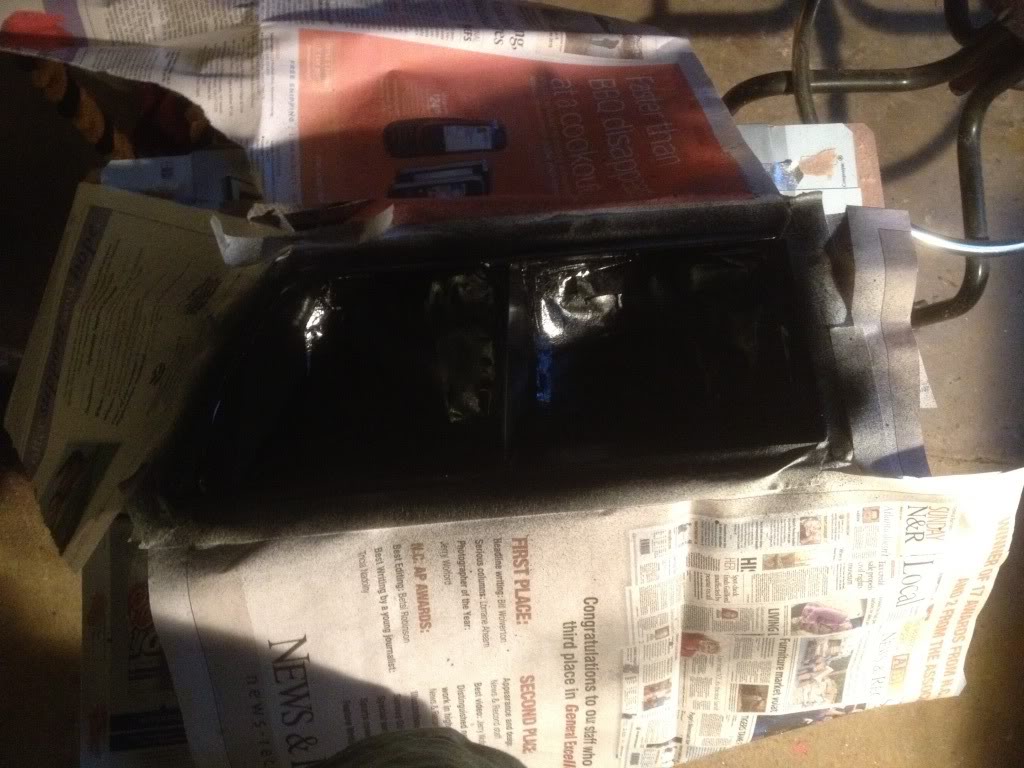
Here is how it looks dry and untaped. My lines are not exactly perfect, but with the fluted lenses, you won't be able to tell. Try taping all the curves and get it perfect - who cares!
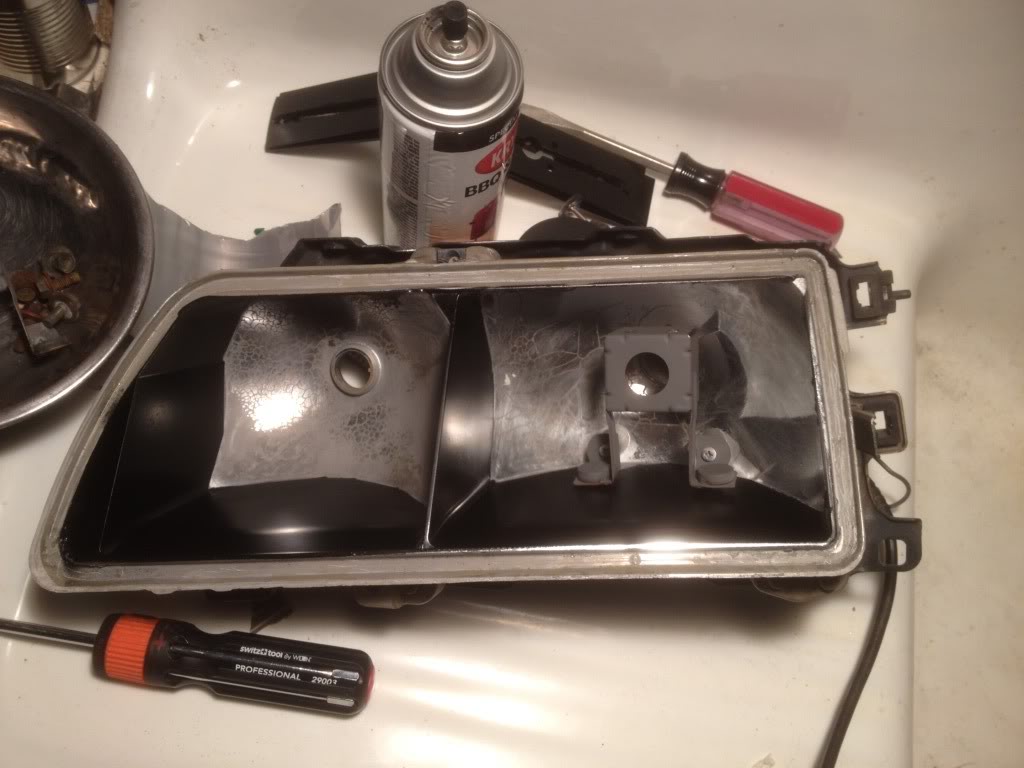
Here is an Idea of how the finnished product will look. I think I like!
O.K. On to the Shiny!
Laugh it up guys, but I found my solution! Spent an hour in Michael's (craft Store) looking at all things shiny. Most were made of paper and wouldn't survive in the headlights. some foils avaliable but I couldn't get them in there without them wrinkling all to hell. Then I saw a display where they had painted a foam ball with this. It looked awesome!
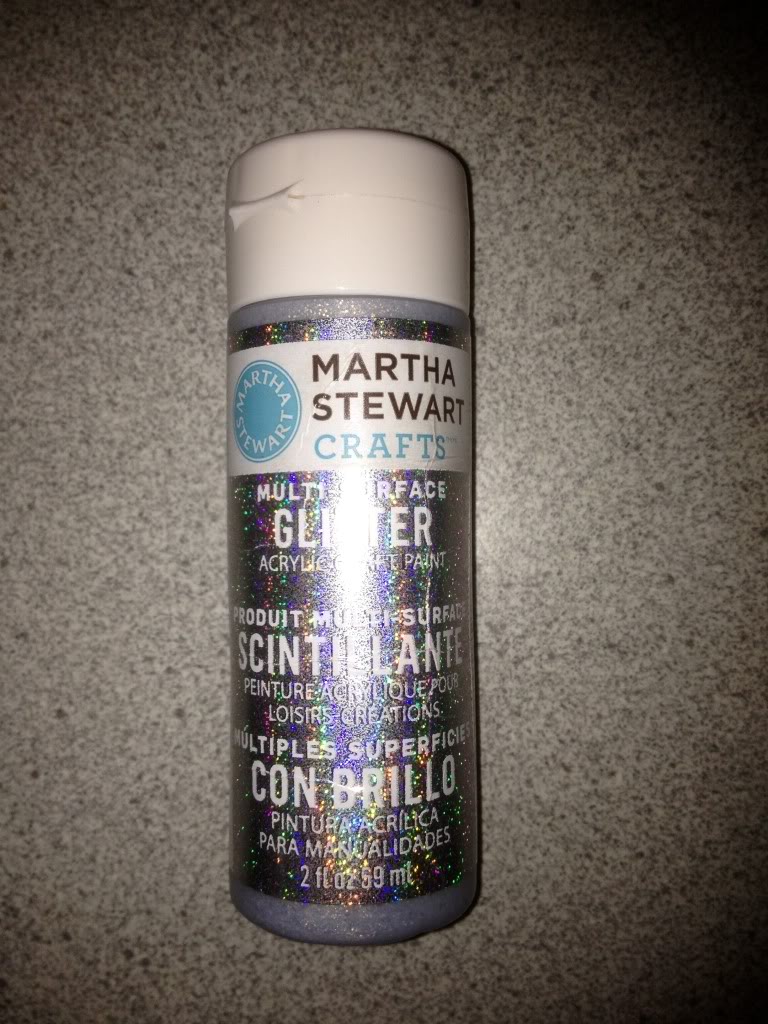
I read the bottle. Is is suitable for indoor/outdoor use and is dishwasher safe. Here is the Kicker... Dries to touch in one hour, Full cure time 21 DAYS!!! I went for it! and at $2.39 it was a steal. Now my only problem is it takes a massive number of coats. First coat went on looking almost like nothing but gule and a few glitter flakes. My wife informed me that this is how glitter fingernail polish goes on, in many coats. So I began just brushing it on with a small hobby paintbrush coat after coat. Each coat takes about 10 minutes, then I allow an hour and a half between coats.
This is coat #6
Well, Coat #8 did the trick. Once again photos do not show it that well, but it looks awesome!
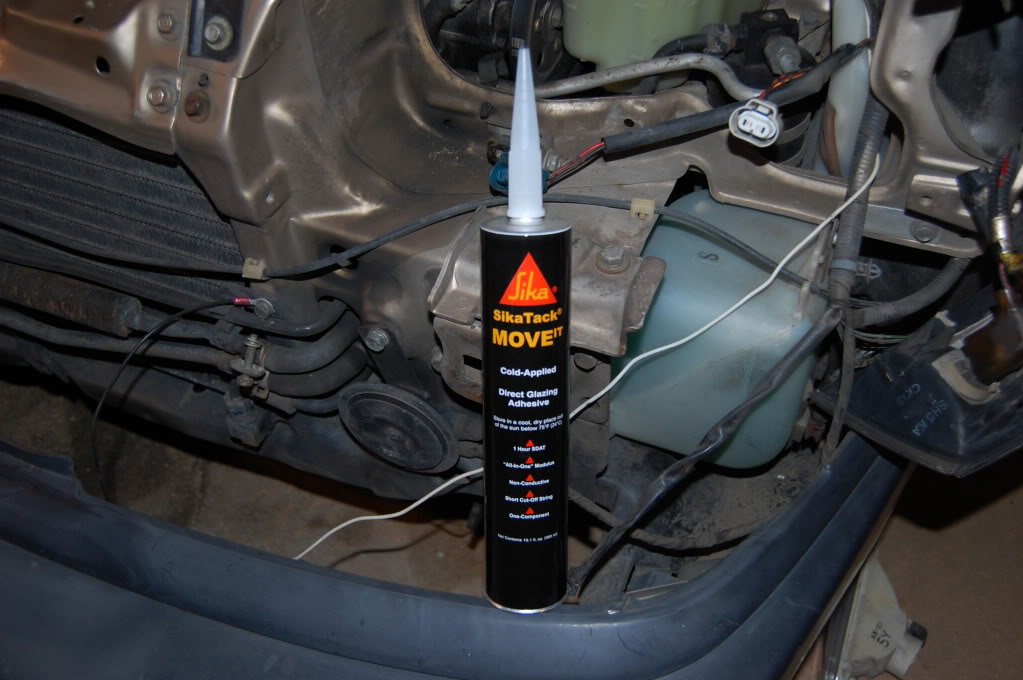
This is the adheasive I am going to use. A glass man who came out to put a quarter window in my Si a while back used this stuff. He said it is great and gave me a couple of tubes. I figure that should work great. And best, it was free!
And here they are all glued up ready for install!
The finnished product!
My headlights, probably like many of yours were constantly wet inside. This was unexceptable. It is caused by the sealent around the glass breaking down over time. So begins the process of restoring my headlights!
First step is obviously to remove them.
Next you are going to remove all the little metal clips that clip from the plastic to the glass. Hope you have better luck than I did!
The brittle plastic that they are attached too broke on all but one. So guess what-No more clips for my headlights. Hope my new glue is strong!
After that I brought them up to the kitchen and it was time to do the part I had read about but was most skeptical. Put them in the oven! I researched this alot. I read about everyone's different times and tempatures. No one was consistant so I decided to wing it!
I baked each light at 200 degrees for four minutes.
Guess what? It Worked! As soon as they each came out of the oven, I took a screwdriver to them and started prying them apart. Once I got a corner going, they pulled right apart. Words of caution... 1. They are hot! and 2. Use caution with the screwdriver. I chipped the glass in a couple of places, but no biggie. The new glue will cover it just fine.
Then it was on to scraping the old glue off. Just used a razor blade. I got the two lenses done in like five minutes.
The housings looked like they will take a little more time.
I was correct! What a bitch - be fore-warned I spent about four days on and off scraping glue out of the channel. Probably about a five hour job! I used a razor blade, screwdriver, scraper, and bottle of M.E.K. Man we must love out wagons! I wanted all that old glue off to provide a clean sealing surface for the new adheasive. Now I needed to find a chrome-like material to refinish the inside of the headlights. I bought some metallic silver paint, the cap looked chrome, but it was a failure.
Here are the pics for your viewing pleasure.
Here is the origional headlight finish...
This is the paint I bought, never mind the quality of the paintjob, this was a one-shot test run to see how it was going to do. Not happy :x
Here is a comparison shot, need more shiny!
Here is the paint I used, note the chrome like cap...False advertising!
Also tried this! Sorry, no pics of it, but none were needed.
Same pitiful results!
I think I'm giving up on the chrome paint idea. Review other's results on youtube - search "chrome paint" and read other reviews but I still think they will yield less than steller reults. I think it is nearly inpossible to paint a mirror-like finish without high $ paint or professional equipment.
Well... Lets hold off on this for now and move on to making my headlights black housing lights, like the EDM ones. Mainly just because I have them apart and I think the black looks cool.
First I masked off the concave surface, going black on everything else.
Then gave it several coats of black. I used Krylon BBQ black. That is the black I use on almost everything. I like how it goes on and gives a nice flat to simigloss color. Plus it is high heat and holds up well. Not to mention - Cheap!
Here is how it looks dry and untaped. My lines are not exactly perfect, but with the fluted lenses, you won't be able to tell. Try taping all the curves and get it perfect - who cares!
Here is an Idea of how the finnished product will look. I think I like!
O.K. On to the Shiny!
Laugh it up guys, but I found my solution! Spent an hour in Michael's (craft Store) looking at all things shiny. Most were made of paper and wouldn't survive in the headlights. some foils avaliable but I couldn't get them in there without them wrinkling all to hell. Then I saw a display where they had painted a foam ball with this. It looked awesome!
I read the bottle. Is is suitable for indoor/outdoor use and is dishwasher safe. Here is the Kicker... Dries to touch in one hour, Full cure time 21 DAYS!!! I went for it! and at $2.39 it was a steal. Now my only problem is it takes a massive number of coats. First coat went on looking almost like nothing but gule and a few glitter flakes. My wife informed me that this is how glitter fingernail polish goes on, in many coats. So I began just brushing it on with a small hobby paintbrush coat after coat. Each coat takes about 10 minutes, then I allow an hour and a half between coats.
This is coat #6
Well, Coat #8 did the trick. Once again photos do not show it that well, but it looks awesome!
This is the adheasive I am going to use. A glass man who came out to put a quarter window in my Si a while back used this stuff. He said it is great and gave me a couple of tubes. I figure that should work great. And best, it was free!
And here they are all glued up ready for install!
The finnished product!
Comments
as far as baking them in the oven, it works, but sometimes goes down the wrong direction quickly. I will suggest using a heat gun. harbor freight sells them for like $25 and they work GREAT. start at one corner and heat till its squishy and use a flat head/pry bar to get it started. I'll also suggest having a partner there so one can pull apart and one can use the razor blade to cut the glue as well. you can continue to heat the lights as you pull them apart to make it easy, wear leather gloves.
once you have the lights apart you can use the heat gun to continue to heat the glue, it makes it come off pretty easy. as far as restoring the inside of the lights, USE PLASTIC ADHESION PROMOTOR. I think this is the one thing people miss the most when dealing with exposed plastic. scuff it down with a scotch brite pad and clean it really well with soapy water or a low voc solvent. once its dry spray the adhesion promoter on and let that set up, then spray your color over it.
lastly, since you're restoring the inside, why not restore the exterior glass as well?!? hit the exterior glass with soem 600grit sand paper, then 800, then 1000 then 2000 then 3000 then polish the hell out of them. Yes its is time consuming without a air sander and air/electric polisher, but man is it worth it when its finished.
Just figured I'd throw that out there if someone was interested in a paint made to adhere directly to plastics.
The clips on the headlights all SLIDE off. So you don't break them.
I too would like to see this with the lights on.
Shot at 2012-03-05
Shot at 2012-03-05
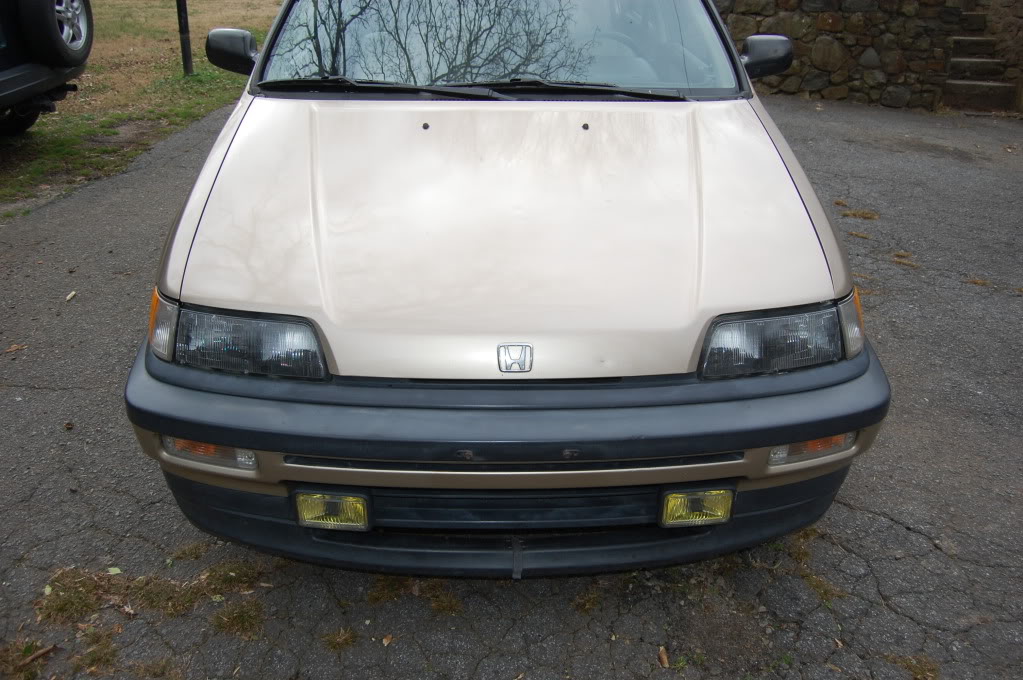
Thats what mine looks like without the shiny parts being messed with, box removed, and 6k hid low beams. Normal highbeams.
They look really cool in the daytime, but can't see shit at night.
I usually run my high beams and or fogs. Looking for a good set of OEM ones
to trade out. If you never drive at night, go for it!!
Do you think that maybe the reason they're dimmer is perhaps due to the fact that there's less reflective surface with the black now? I realize the black areas aren't really "aimed" ahead, but I'd assume every little bit helps.
I thought about switching to HIDs but not sure it would help that much without reflective surfaces.